Tools & Materials


Engine running erratically? It's time to face the fix. Whether you are a casual cultivator or a legendary landscaper, eReplacementParts.com provides the parts, procedures and facts you need to fearlessly fix what fails you.
The cylinder intake gasket forms a seal between the carburetor isolator and the cylinder, keeping additional air out of the mixture and preventing dirt and debris from entering the engine. If there is a major leak in the gasket, the engine will run erratically; surging up and down and sporadically dying.
If a major leak is suspected, stop using the tool immediately. The extra air entering the engine will create a lean mixture that will quickly cause serious damage to the cylinder and piston.
A minor leak will often be harder to diagnose. It may cause little change in how the engine runs, but it still allows a pathway for dirt to enter the engine. Unfortunately, many small leaks will go undetected until serious engine damage -- such as low cylinder compression -- occurs.
The best way to prevent problems with the intake gasket is to replace it whenever the carburetor isolator is removed from the engine. A re-used gasket has a much lower chance of properly sealing.
This article provides step-by-step instructions for removing and installing the cylinder intake gasket on a Powermate cultivator.
Let's get started.
 REMOVING THE INTAKE GASKET [top]
1. Remove the air filter.
Loosen the thumbscrew securing the air filter cover.
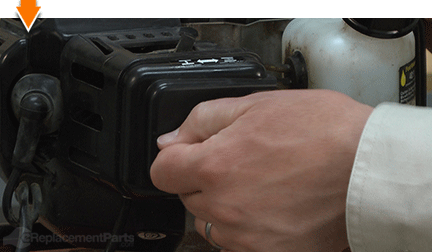
Remove the air filter cover assembly from the engine.
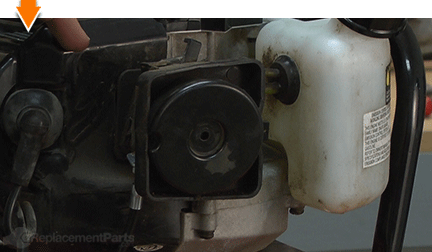
Remove the air filter mounting plate.
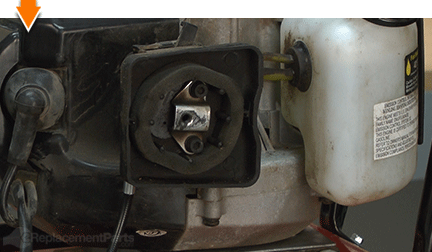
Remove the foam air filter.
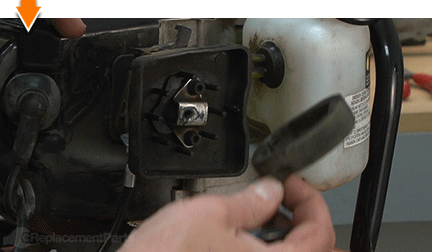
2. Remove the air filter housing.
Remove the (2) two screws securing the air filter housing (and the carburetor) to the engine.
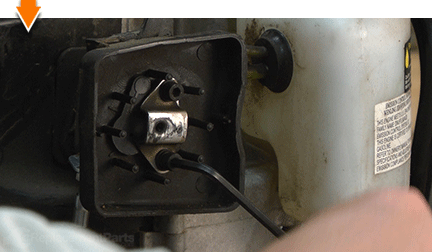
Remove the air filter housing.
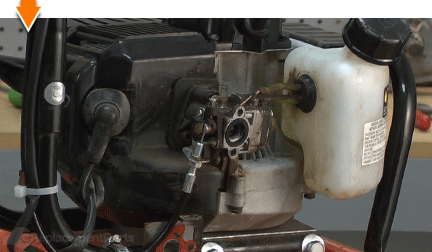
3. Remove the cylinder intake gasket.
Note: We've removed our carburetor to give you a better view of the isolator and gasket. You don't need to remove yours.

Remove the (2) screws securing the carburetor isolator to the engine.

Remove the carburetor isolator from the engine.

Use a small screwdriver to remove the intake gasket from the engine.

Use a razor blade or a gasket scraper to remove any remaining residue from the intake assembly.

INSTALLING THE NEW INTAKE GASKET [top] 4. Install the intake gasket.
Thread the mounting screws into the carburetor isolator block.

Install the new intake gasket directly onto the isolator block (using the screws to keep it aligned).

Install the isolator block (along with the new intake gasket) onto the engine.

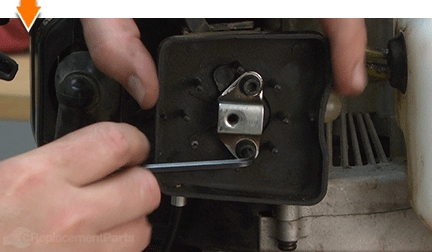
Secure the isolator block with the (2) screws.

REASSEMBLING THE UNIT [top] 5. Reinstall the air filter housing.
Thread the bolts through the holes in the metal support bracket and the plastic air filter housing.
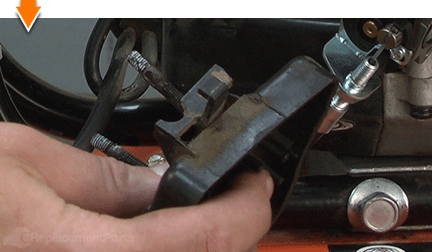
Thread the carburetor onto the bolts and slide the two fixtures (the carburetor and the air filter housing) tightly together.
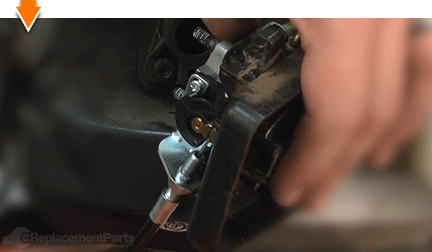
Install the carburetor gasket (over the bolts; flush against the carburetor).
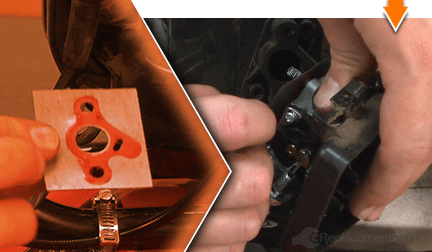
Thread the bolts (containing the entire assembly) into the holes on the engine.
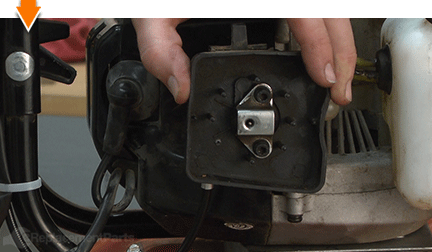
Tighten the (2) bolts to secure the air filter housing and the carburetor to the engine.
6. Reinstall the air filter.
Install the foam air filter; ensuring alignment with the plastic guides on the air filter housing.
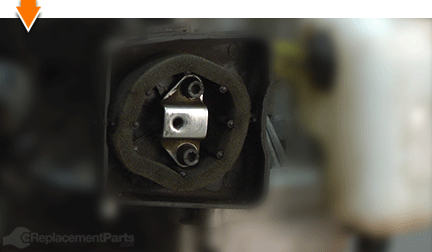
Install the air filter mounting plate.
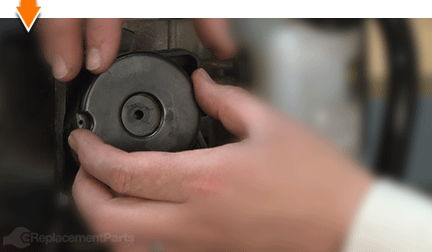
Install the air filter cover.
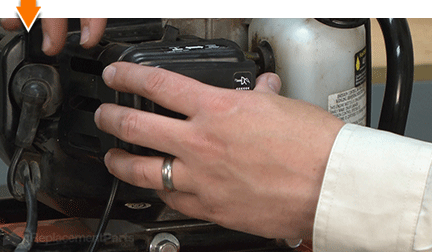
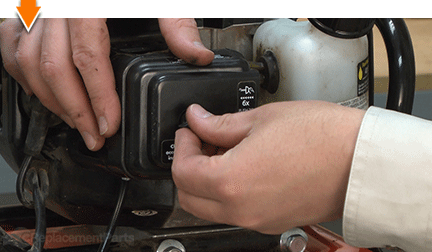
Tighten the thumbscrew to secure the air filter cover to the engine.

Do-it-yourself repairs like these are easier than you might think. From lawn machines to cordless drills - kitchen mixers - outdoor grills; our "how-to" articles and videos walk you through each repair from start to finish. So, doing-it-yourself means never having to do it alone.


