Tools & Materials
- flat head screwdriver
Safety Guidelines
- Double check that the mixer is unplugged before beginning the repair.
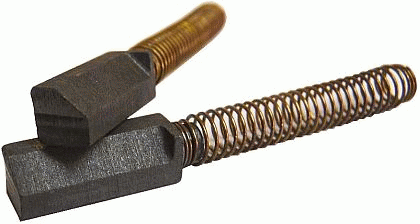 Replacing the brushes in a KitchenAid mixer only takes minutes, and because the brushes themselves are very inexpensive, this is a great way to save money at the repair shop.
Follow the simple home repair steps below to replace the carbon brushes in your KitchenAid mixer.
Steps to Replace KitchenAid Mixer Brushes
Each side of the mixer's motor housing holds a carbon brush underneath a brush cap.
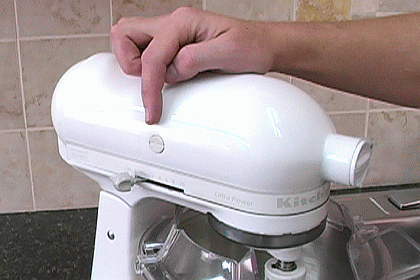
1. Unscrew the brush caps with a flat head screwdriver.
Take care when unscrewing the brush caps.
The carbon brushes underneath are held in place with springs, so they will want to fly out of the machine when the caps are released.
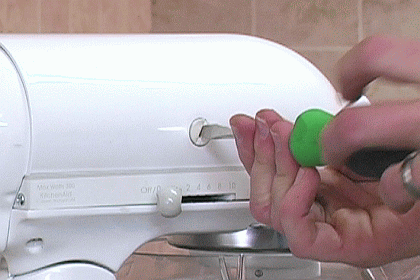
Unscrew the brush caps slowly to prevent the brushes from flying out.
[Back to top]
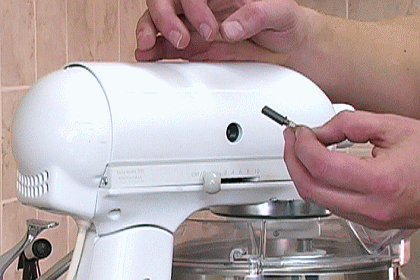
2. Remove the old brushes from the machine.
It will be easy to pull the carbon brushes out after the brush caps are removed.
 [Back to top]
3. Install the new carbon brushes.
The carbon brushes for KitchenAid mixers have a special shape.
One corner of their otherwise square shape is flattened at a 45 degree angle, ending in a dog ear tag at the base of the brush.
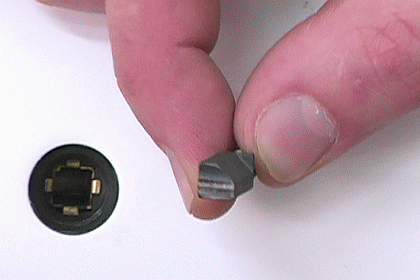
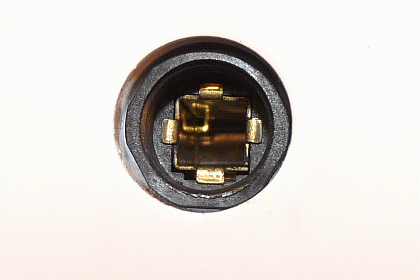
Accordingly, the brush holders on the sides of the mixer also have a special shape to accommodate the brushes.
One corner of each brush holder is occupied by a square box. The dog ear corner of the carbon brushes must be lined up with the squared-off corner of each brush holder.
 [Back to top]
4. Reinstall the brush caps.
After installing the new brushes, the mixer's brush caps must be returned to hold them in place.
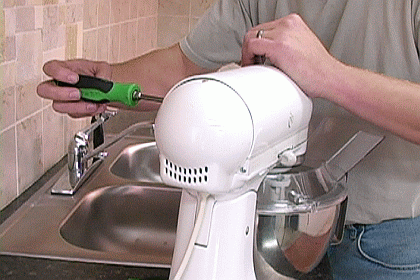
Tighten up the brush caps with a flat head screwdriver.
[Back to top]
Conclusion
This repair pertains to the following KitchenAid stand mixer models:
- all mixers containing "KSM" in their model numbers (except the KSMC50).
- all mixers whose model numbers begin with "K5," or "K45."
What we're about.


