Tools & Materials
- screwdrivers
- pin punch
- putty knife
- KitchenAid mixer grease
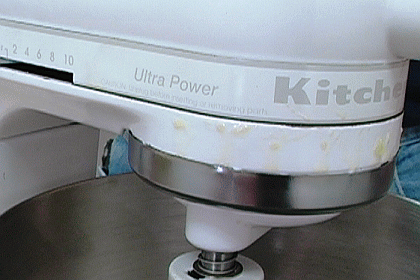 To fix the problem of oil leaking out of a KitchenAid mixer, the old grease in the mixer's gearbox must be replaced with new grease.
Read the steps below for how to fix a leaking KitchenAid stand mixer. Replacing the gearbox grease can take as little as ten or fifteen minutes with this professional repair advice.
Access the Mixer's Gearbox
Fixing a leaking KitchenAid stand mixer is a four part process: accessing the gearbox, removing the old grease, adding new grease, and reassembling the appliance.
The first part of the repair, accessing the mixer's gears, requires a little disassembly of the machine.
1. Remove the rear housing cover and power cord strain relief.
The power cord must be freed from the motor, and that means removing the cord's strain relief.
The strain relief is located underneath the mixer's rear housing cover.
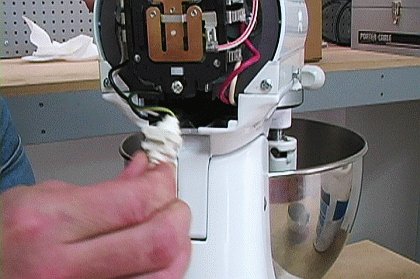
Remove the rear housing cover by unscrewing its one Phillips head screw. The power cord strain relief will then pull out of the back of the mixer stand.
[Back to top]
2. Remove the planetary drip ring (beauty ring).
The beauty ring decorates the mixer, helps seal the gearbox, and catches leaking grease. It is held to the mixer planetary with just a little surface tension.
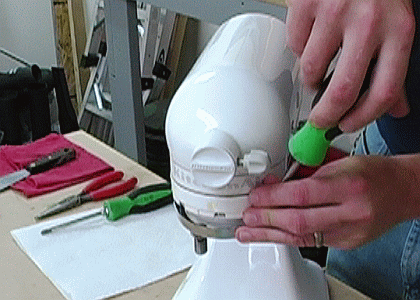
Use a flat head screwdriver to gently tap the drip ring off of the planetary.
[Back to top]
3. Tap the planetary pin out of its pin hole.
The planetary shaft pin is the last thing holding the planetary to the gear box.
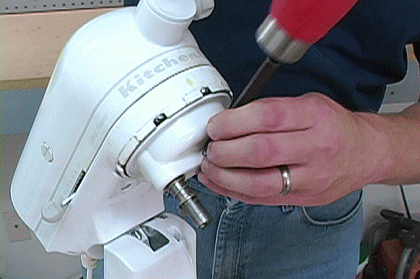
Using a pin punch and a hammer, tap the planetary pin out of its place.
[Back to top]
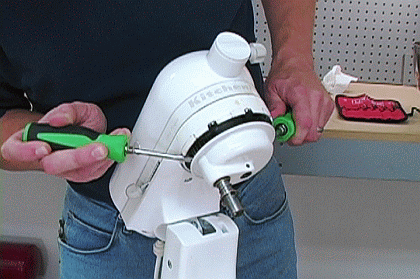
4. Pry the planetary off of the mixer.
The planetary can now be removed from the mixer.
To start, pry the planetary off a little with a couple of flat head screwdrivers. Then, pull it off the rest of the way by hand.
 [Back to top]
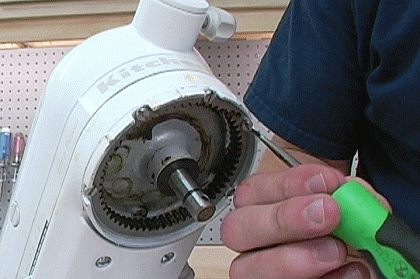
5. Remove the five gearbox screws.
Removing the planetary exposes five screws that hold the mixer's motor housing to the stand.
Remove these five screws with a flat head screwdriver.
 [Back to top]
6. Remove four rear housing screws.
There are also four rear housing screws that similarly join the mixer stand and the motor housing--these also must be removed with a flat head screwdriver.
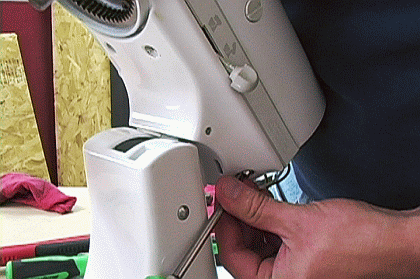
One of the two rear housing screws in one of the two rear-most positions will have a retaining washer on it. Take note of which screw has this washer, as the screw must be returned to a rear fastener position on the motor housing.
[Back to top]
7. Pull the motor housing off the mixer stand.
With the housing screws removed, the rear cover off, and the strain relief disengaged, the motor is now free from the lower half of the mixer.
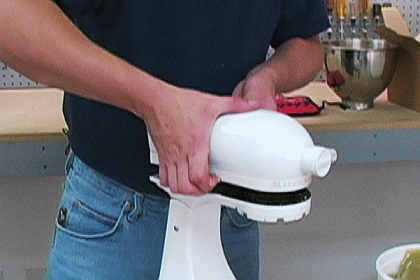
The front end of the motor housing is actually part of the mixer's gearbox that attaches onto a gear shaft, so it will still be partially secured onto the mixer.
Lift the motor housing straight up to pull it off the gear shaft and away from the mixer. [Back to top] Remove the Old Grease from the Mixer The mixer gearbox will have a large pile of grease in it. It's normal for the grease to be a dark color as long as it hasn't separated. Before removing the grease, make sure that it's the cause of the leak by inspecting it for signs of separation. 8. Remove the old grease from the gearbox and motor housing.
Use a putty knife to remove all the old grease from around the gears, and place the old grease in an appropriate container.
It may be necessary to turn the gears in order to remove all the old grease. Insert a pin punch into the pin hole on the bottom of the gear shaft to turn the gears as you clean.
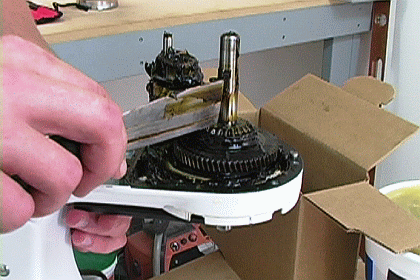
Make sure to also clean all the old grease out of the gearbox section of the motor housing.
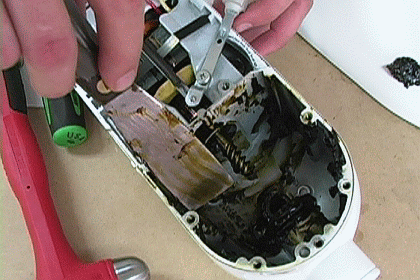
Cleaning all of the old grease out of the mixer may take several minutes.
[Back to top]
Pack New KitchenAid Mixer Grease Around the Gears
Now, it's time to pack the gearbox with new KitchenAid stand mixer grease.
It's important to put approximately the same amount of grease back into the mixer as was removed.
So, before continuing, check the size of the old grease pile to estimate how much new grease should be added to the mixer.
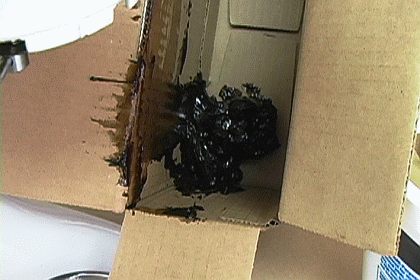
9. Pile the new mixer grease onto the gears.
Use a clean putty knife to pile new grease onto the mixer gears a little at a time.
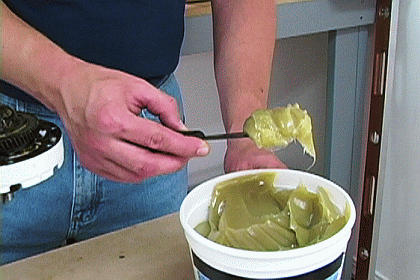
Try to approximate the same amount of grease as was removed from the gearbox.
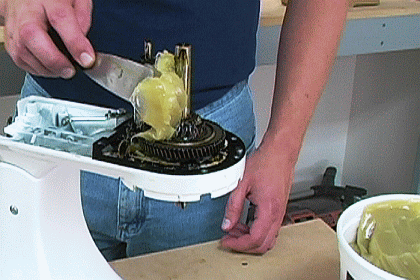
Also, make sure that each of the gears in the gear assembly gets at least a little coverage from the new grease. It may be necessary to again turn the gears to properly cover each of them.
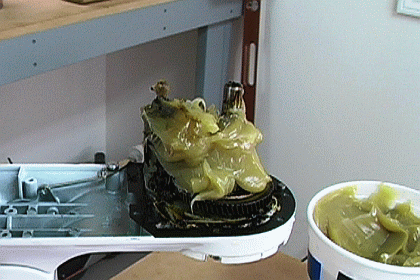 [Back to top]
Reassemble the Mixer
10. Return the motor housing to the mixer stand.
When placing the motor housing back into position, a bearing in the gearbox portion of the housing must be lined up with the gear spindle that protrudes from the gears.
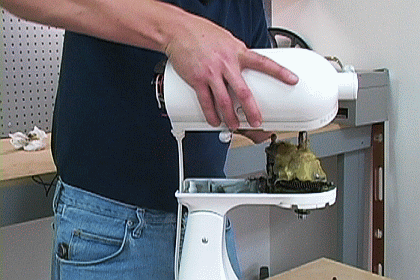
11. Seat the motor housing into position by turning the gearbox gears.
The gears in the gearbox must be lined up for the motor housing to completely seat into position.
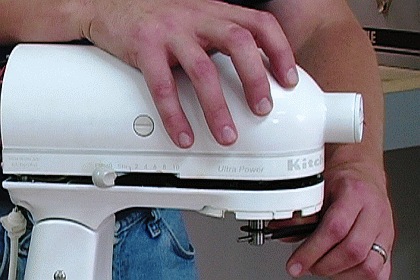
To line up the gearbox gears, use a pin punch to turn the motor shaft while gently applying pressure to the top of the motor housing.
Once the gears are correctly aligned, the motor housing will descend and close the gap between the two parts of the mixer.
[Back to top]
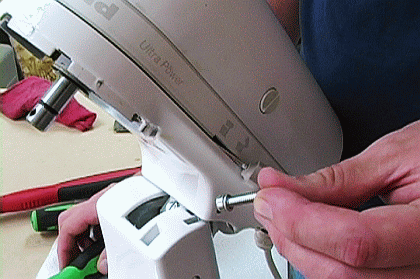
12. Return all of the mixer housing fasteners.
Finish joining the two halves of the mixer by returning the five screws underneath the planetary and the four screws in the rear of the mixer housing.
Remember that rear housing screw with the lock washer (the retaining screw) must be returned to one of the two rearmost positions.
 [Back to top]
13. Replace the planetary.
It's a good idea to apply a little fresh grease to the planetary gear before pressing it back onto the mixer.
Don't pile grease onto the gear like inside the gearbox. A thin coat around the gear will do just fine.
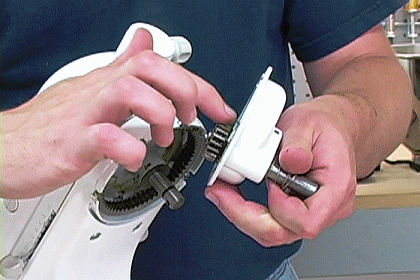
After the planetary gear is greased, the planetary can be pressed back into position by hand.
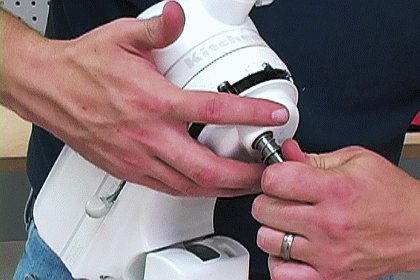
The planetary gears will also have to be aligned as you press the planetary back into place. While pressing the motor housing, turn the motor shaft to align the gears.
[Back to top]
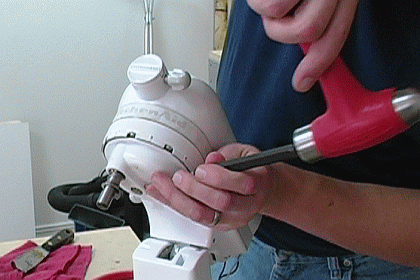
14. Reinstall the planetary pin.
The holes in the planetary and motor shaft must first be aligned before hammering the planetary pin back into position.
Before proceeding, wedge a small screwdriver into the holes to line them up.
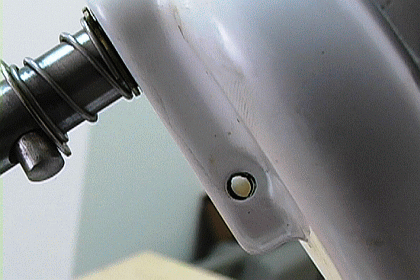
Once the holes are aligned, the planetary pin can be tapped back into place with a hammer.
 [Back to top]
15. Press the beauty ring back onto the mixer.
The beauty ring is held in place by tension, so the area around the planetary must be free of grease for the drip ring to stay in place.
Thoroughly clean the planetary area before attempting to replace the ring.
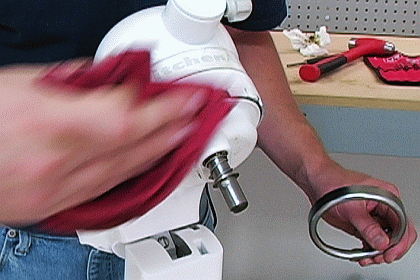
Once the planetary area is free of grease and other dirt, the beauty ring will easily press back into position by hand.
[Back to top]
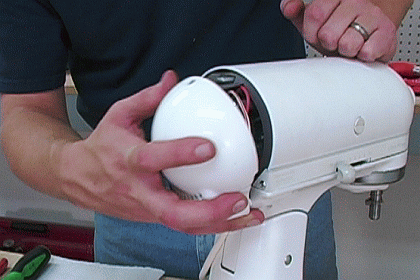
16. Replace the rear housing cover.
Re-engage the power cord strain relief before returning the rear housing and its one Phillips screw to their original positions.
 [Back to top]
With the mixer reassembled, this repair is now complete.
Conclusion
This repair pertains to the following KitchenAid stand mixer models:
- all mixers containing "KSM" in their model numbers (except the KSMC50).
- all mixers whose model numbers begin with "K5," or "K45."
What we're about.


