


Video
Tools & Materials
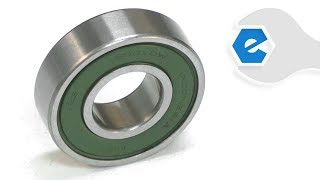
Power tools use many ball bearings to allow various components to rotate. Over time, a ball bearing will wear and begin to fail. A bearing that is failing will usually give warning; often with a squeaking or a squealing sound.
Let's get started.
REMOVING THE BALL BEARING
1. Begin by removing the chip deflector and the screw that secures the guard linkage. You want to be careful to not lose the spacer at the rear of the linkage.
2. There are two screws that hold the pivot pin captive. Go ahead and remove each of them.
3. Separate the upper half of the column from the lower half. Do this by removing the pivot pin. The return spring is applying upward tension on half of the saw, so when removing the pin, the spring will tend to push the upper half of the saw toward you. You might want to have a helper for this part, as it will make it a little bit easier.
4. Use a punch to tap the pivot pin out of the saw.
5. Keep a firm grasp on the upper half of the cutter head as you remove the pin getting ready for it to come free.
6. Use a socket and a socket extension to remove the pivot bearing.
7. Place the extension through the opposite pivot bearing.
8. Install the socket.
9. Tap the bearing free.
INSTALLING THE NEW BALL BEARING
1. Place the new bearing into the housing.
2. Use a socket that has a diameter about the same as the outer race to tap it into place.
3. Reassemble the two halves of the saw.
4. Place the spring and then align it with the location on the upper housing.
5. As you pivot the head into place have the punch ready to insert it through the castings to hold the two halves together.
6. With the punch holding one half in place, now you can insert the pivot pin into the other half.
7. With the pin in place now you can remove the punch from the other side.
8. Tap the pan the rest of the way through.
9. Reinstall the pin retaining screws.
10. Reinstall the deflector.
11. Finish up by reinstalling the guard linkage.
12. First the spacer and then the linkage.
13. Secure it with the washer and the screw.
