Tools & Materials

Trimmer out of whack? It's time to face the fix. Whether you are a legendary landscaper or a weekend weed whacker, eReplacementParts.com provides the parts, procedures and facts you need to fearlessly fix what fails you.
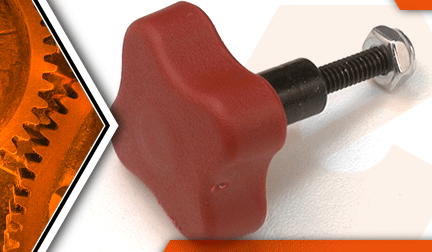
The adjustment knob is part of the accessory clamp assembly on your Ryobi trimmer. It allows you to tighten the clamp that secures the accessory attachments. A common problem with the adjustment knob is that the threads eventually strip, and the clamp is unable to secure the attachments.
This article provides step-by-step instructions for removing and installing the adjustment knob on a Ryobi trimmer.
Let's get started.
 REMOVING THE ADJUSTMENT KNOB [top]
1. Remove adjustment knob.
Loosen the retaining nut.
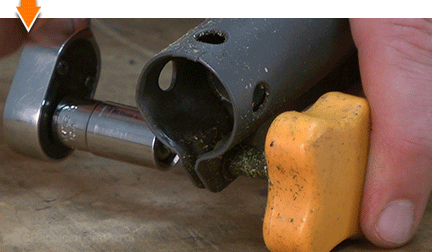
Remove the retaining nut.
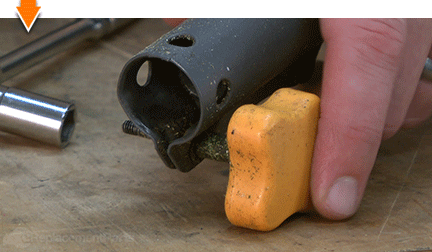
Loosen (unscrew) the knob.
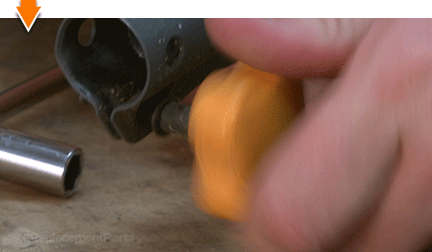
Remove the knob from the clamp assembly.
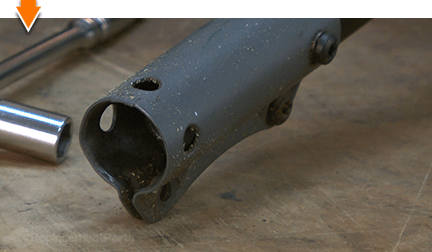
INSTALLING THE NEW ADJUSTMENT KNOB [top] 2. Install the adjustment knob.
Thread the new adjustment knob into the clamp assembly.
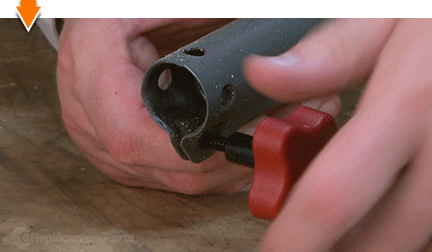
Thread the locknut onto the spindle of the new clamp knob.
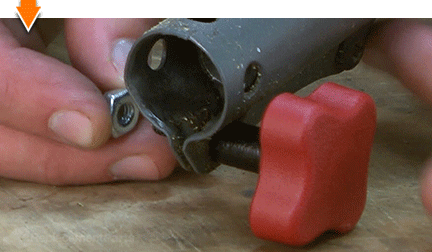
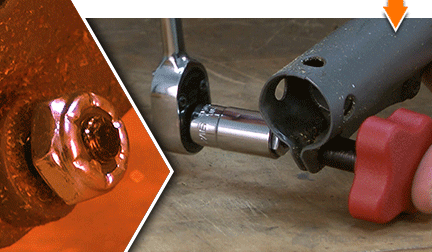
Tighten the locknut until the clamp bolt protrudes slightly beyond the surface of the locknut. (Do not tighten the nut fully; otherwise the clamp will not work as intended.)

You don't have to leverage your savings to level your lawns. As you just learned, repairing your own equipment is easy when you follow our step-by-step guides. Not only did you restore trimmer functionality at a fraction of the cost of replacement; you have taken the edge off of future repairs, wherever you may find them.


