DIY Metal Jack-O-Lanterns
Do you love the look of jack o’ lanterns at Halloween, but hate the mess and waste you throw out every fall season? Then we have a treat for you! This DIY project uses galvanized metal buckets instead of pumpkins, allowing you to reuse them year after year. You can customize them with whatever patterns and colors you’d like, and you can still “carve” one each year to add to your collection. Let’s get started!

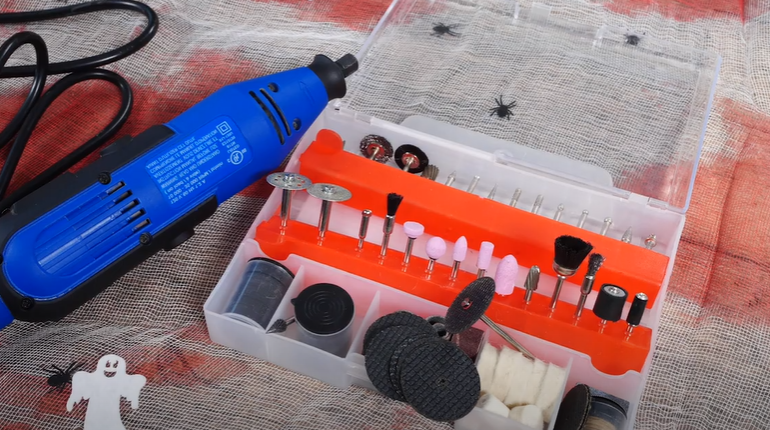
Here’s what you’ll need:
- Dremel
- Dremel kit (with sanding bits, burrs and cutting discs)
- Galvanized metal buckets
- Clamp
- Work gloves
- Safety glasses
- Hearing protection
- Candles
- Spray paint

Steps for Making a DIY Jack-O-Lantern
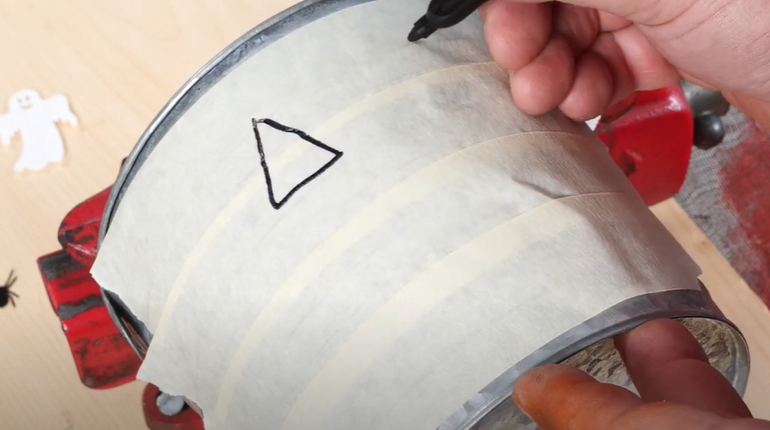
- Prep the Bucket
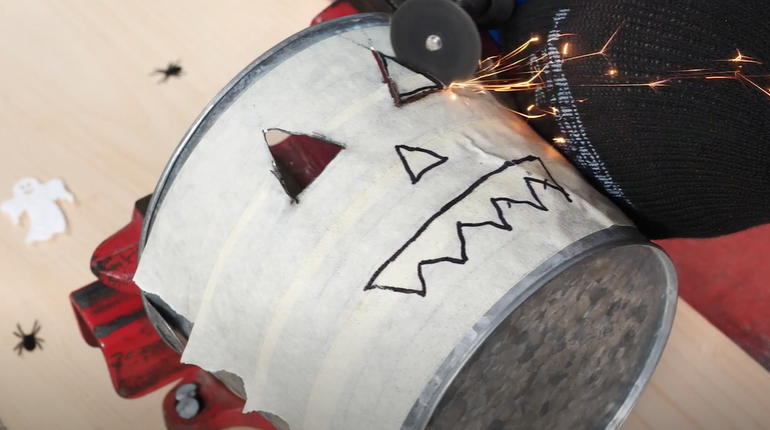
The first step for this project is prepping your bucket for carving. You will want to place it in a clamp or vise to keep it secure while you are cutting. Next is to draw your design on the bucket. We found it easiest to apply masking tape to the metal, and then drawing our pattern. It kept the ink from smudging, made it easy to see the design, and if you make a mistake, it’s easy to start over.
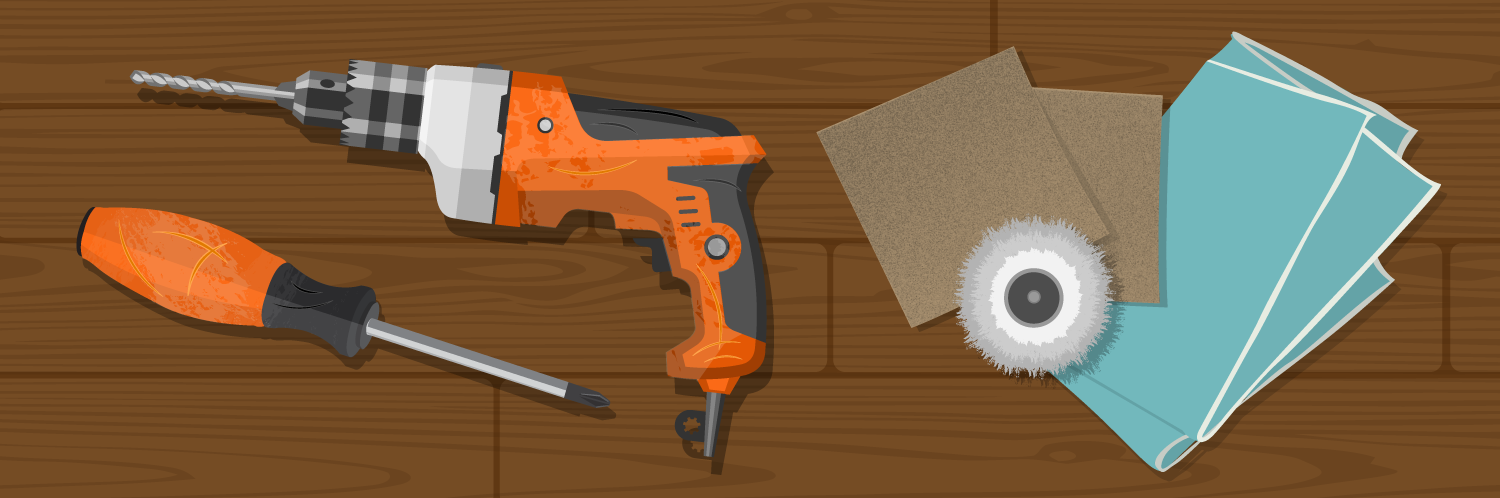
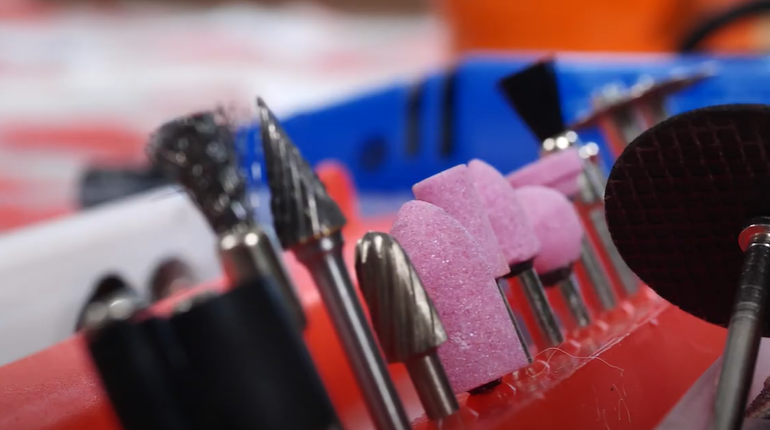
2. Prep the Dremel
A Dremel is such a versatile tool and is what we have chosen to use to carve our “pumpkins” for this project. You will want to have a kit that includes a variety of sizes of burrs and sanding bits, along with various sizes of cutting discs. Depending on the design you’ve chosen, you may have some small or tight corners to cut around, and having the appropriately sized tools will help. The first attachment we’ll use is the cutting disc, so the correct shaft will need to be screwed onto the device. Using washers, attach the cutting disc to the shaft and insert the assembly into the Dremel. Lock the shaft into place and then tighten up the bolt to lock the disc in place.
3. Cut Out the Design
Before you begin, be sure to put on your safety gear including work gloves, hearing protection, and safety glasses, and of course have your workstation set up in a well-ventilated area. Then you can begin cutting out your design! Start with the larger sections, and when you get to smaller pieces you may need to switch to a smaller cutting disc on your Dremel. Once you have everything cut out, the masking tape can be removed from the bucket.
4. Smooth Sharp Edges
Next up is to smooth out all the edges to ensure that no one cuts themselves on your decorations. Use a sanding attachment of various sizes to buff out all the edges and corners.
5. Paint the Bucket
Now it’s time to paint! We chose to use the same color inside and out, but you have complete creative liberties here. You could stick with traditional spooky shades like orange and black or go for something bright and funky like purple and lime green.
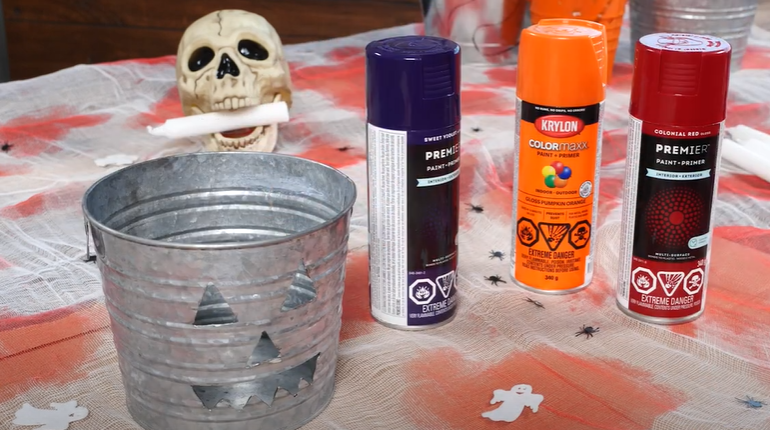
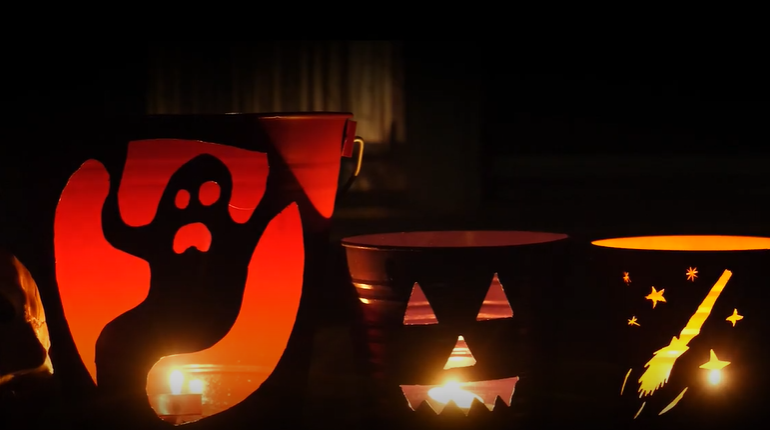
6. Light It Up!
Once the paint has dried, you’re ready to try out your new lanterns! These are safe to use candles in, but for extra safety measures, battery-powered lights work just as well. For an extra colorful option, try placing a couple of glow sticks inside.
We hope you had as much fun with this project as we did! If you need replacement parts for your power tools, you can find them by searching for your model number. Be sure to subscribe to our YouTube channel so you don’t miss out on our next DIY!