


Video

Tools & Materials


Trimmer out of whack? It's time to face the fix. Whether you are a legendary landscaper or a weekend weed whacker, eReplacementParts.com provides the parts, procedures and facts you need to fearlessly fix what fails you.
The carburetor gasket creates a seal between the carburetor spacer and the heat dam. A strong seal is essential to prevent extra air, dust, and dirt from entering the engine. Extra air will cause the engine to run lean, which will scar the cylinder and piston. Dirt will act like sandpaper and quickly wear away at the piston and cylinder.
The carburetor gasket serves an additional function as well. Its large size creates a heat-shield between the engine and the carburetor, which helps to prevent vapor-lock. Vapor-lock is a condition where the carburetor becomes so hot that the fuel inside of it boils-off (vaporizes) before it can be properly mixed and sent to the cylinder.
Vapor-lock usually occurs after the engine has been run for a while; then is shut-off for a short time; then attempted to (re)start. The large carburetor gasket helps to keep the heat from the engine away from the carburetor, reducing the chance of vapor-lock.
Typically, the carburetor gasket will only need to be replaced if it is removed during another engine repair. If the gasket tears at all during removal, it must be replaced. The only way to ensure the proper seal from a gasket is to replace it whenever it is removed.
This article provides step-by-step instructions for removing and installing the carburetor gasket on a Ryobi string trimmer.
Let's get started.
 REMOVING THE CARBURETOR GASKET [top]
1. Remove the air filter box.
REMOVING THE CARBURETOR GASKET [top]
1. Remove the air filter box.
Remove the air filter cover.
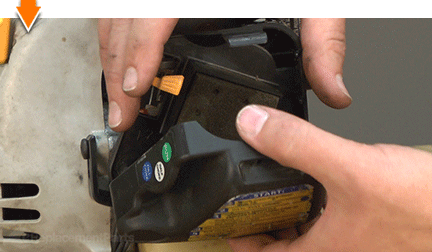
Remove the air filter.
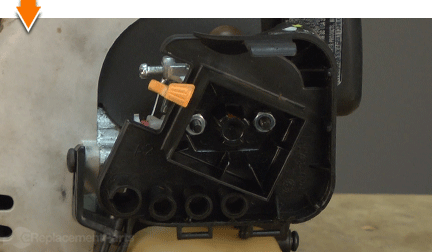
Remove the (2) nuts securing the air filter box assembly to the engine.
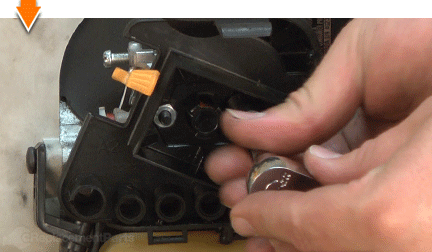
Slide the air filter box assembly away from the engine.
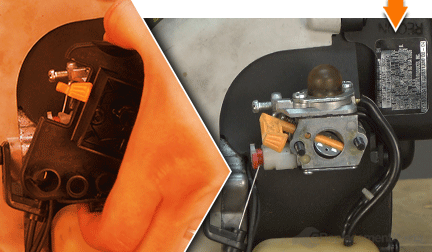
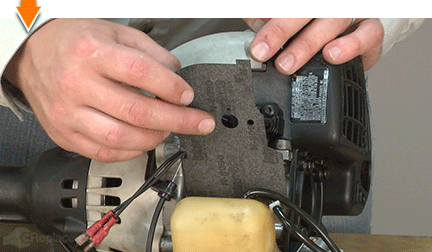
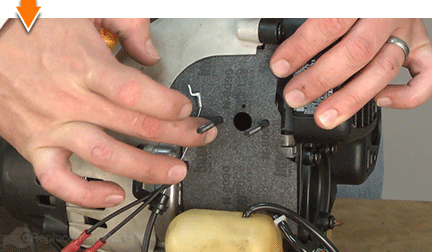
2. Remove the carburetor gasket.
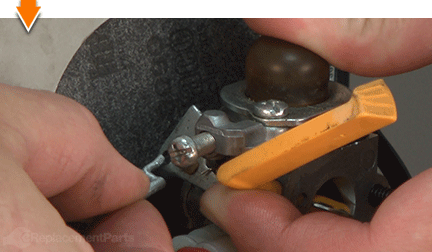
Disconnect the throttle cable "z-connector" from the carburetor linkage.
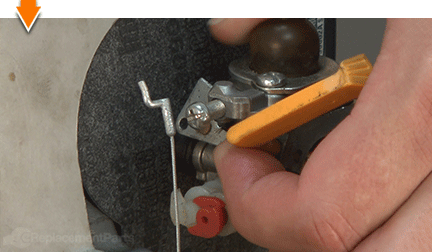
Slide the carburetor assembly away from the engine (it is not necessary to disconnect the fuel lines from the carburetor).
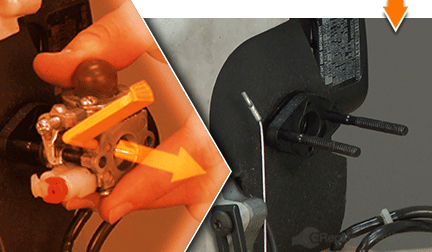
Slide the carburetor spacer away from the engine.
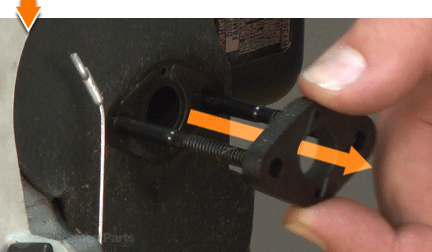
Remove the carburetor gasket.
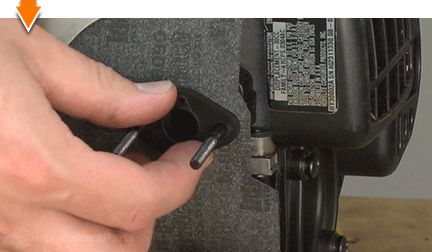
INSTALLING THE NEW CARBURETOR GASKET [top] 3. Install the carburetor gasket.
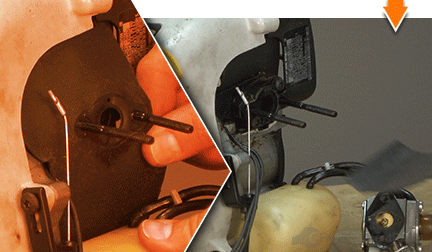
Install the new carburetor gasket.
Verify that the new gasket is properly seated and positioned behind the starter housing.
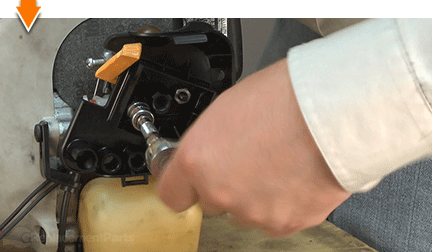
REASSEMBLING THE UNIT [top] 4. Reinstall the carburetor.
Install the (plastic) carburetor spacer.
Install the carburetor.
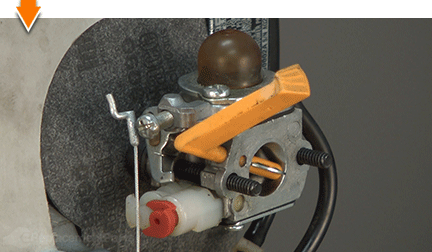
Connect the throttle cable "z-connector" to the carburetor linkage.
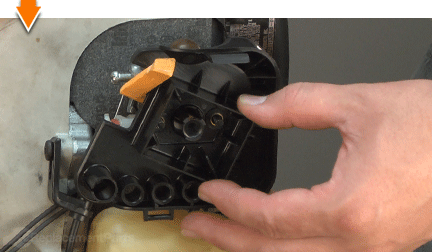
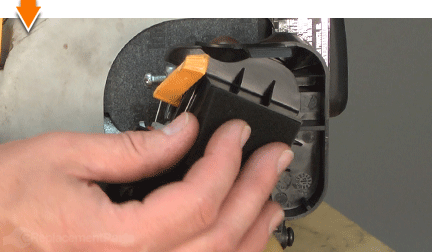
5. Reinstall the air filter box.
Install the air filter box over the carburetor.
Secure the air filter box with the (2) nuts.
Reinstall the air filter.
Reinstall the air filter cover.


Do-it-yourself repairs like these are easier than you might think: From lawn machines to cordless drills, kitchen mixers to outdoor grills. Our "how-to" articles walk you through each repair from start to finish.
So, doing-it-yourself means never having to do it alone.
