


Video

Tools & Materials

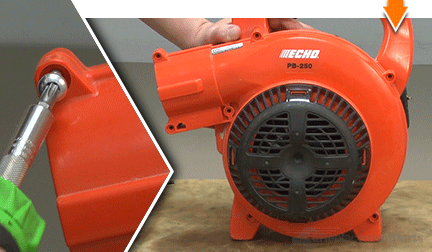
Blower fan failing? It's time to face the fix. Whether you are a legendary landscaper or a yearly yard-shaper, eReplacementParts.com provides the parts, procedures and facts you need to fearlessly fix what fails you.
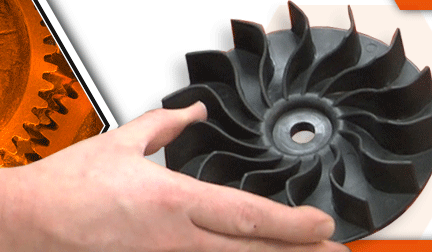
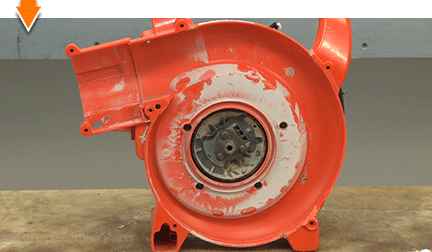
The fan (also known as the impeller) is the primary source of air power on your Echo blower. It is responsible for generating the airflow that moves (blows) the leaves and debris around your yard. Because they are made of plastic, blower fans -- especially the fins -- are susceptible to deterioration and damage such as chipping, cracking, bending and outright breakage.
Symptoms of a faulty fan include reduced air output, weak air intake, and unusual (or unpleasant) noise during blower operation.
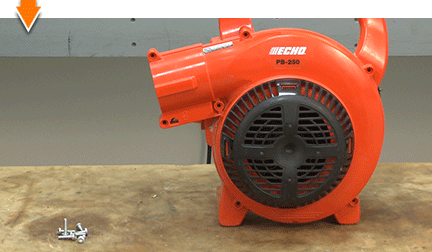
This article provides step-by-step instructions for removing and installing the fan on an Echo handheld blower (model PB250).
Let's get started.
 REMOVING THE FAN [top]
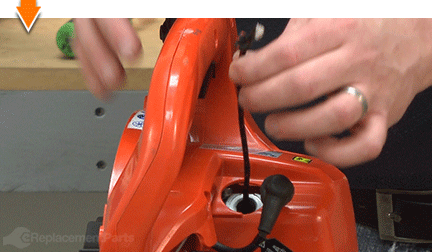
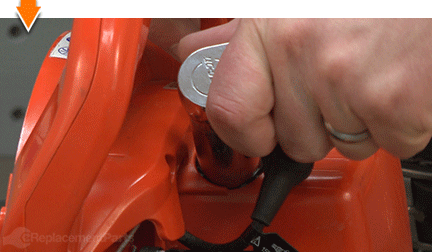
1. Remove the blower pipe.
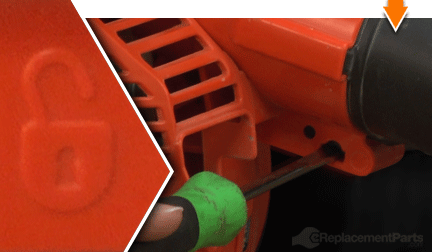
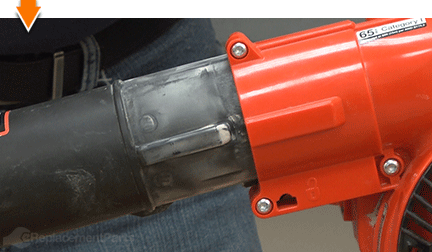
REMOVING THE FAN [top]
1. Remove the blower pipe.
Insert a screwdriver into the hole located beside the "LOCK" symbol on the fan case.
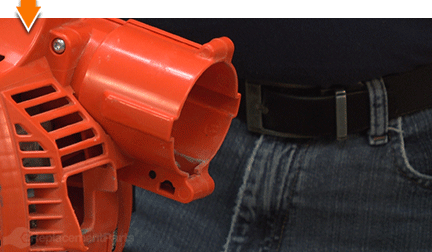
Pull the blower pipe out of the fan case.
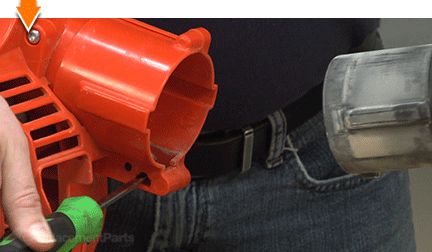
Remove the screwdriver.
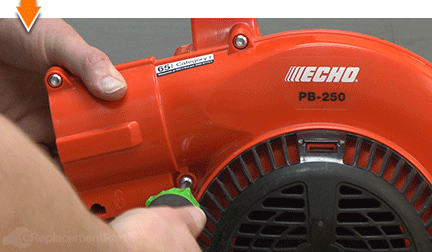
2. Remove the fan cover.
Remove the (7) screws from fan cover.
Remove the fan cover from the unit.

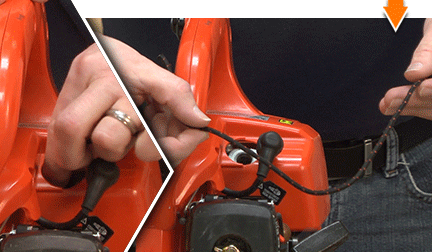
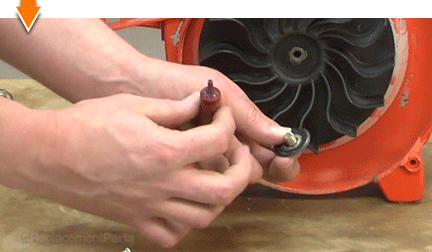
3. Bind the engine.
Remove the spark plug boot.
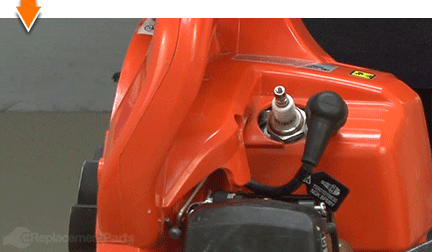
Use a spark plug wrench (or socket) to loosen the spark plug.
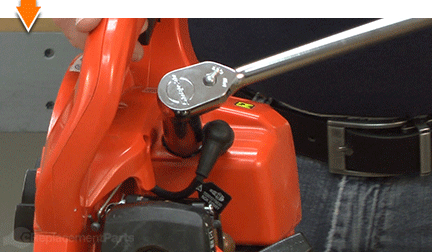
Remove the spark plug from the cylinder.
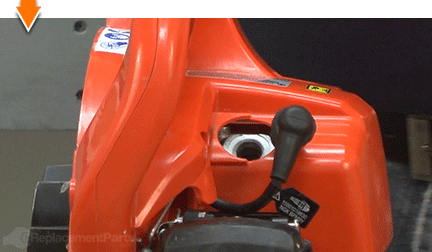
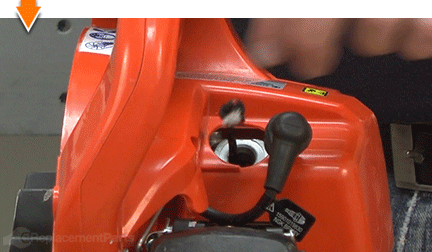
Insert the end of an old starter rope (or similar rope) into the cylinder assembly.
Continue feeding the starter rope into the cylinder until the piston is unable to move (and the crankshaft is unable to rotate).
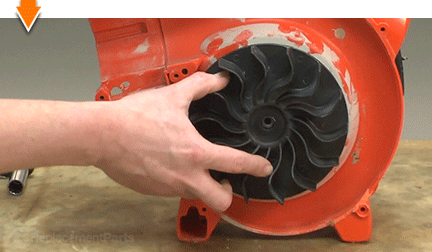
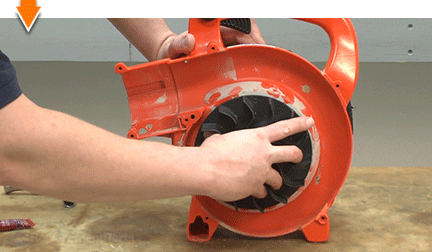
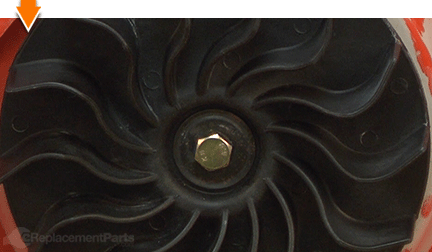
4. Remove the blower fan (impeller).
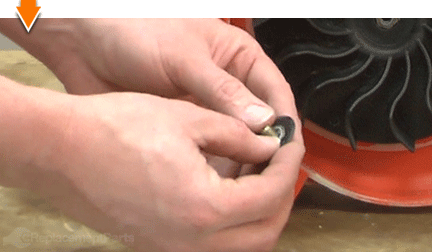
Use a wrench (or socket) to loosen the fan retaining bolt.
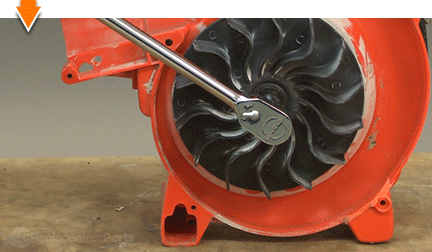
Remove the retaining bolt and the washer from the fan.
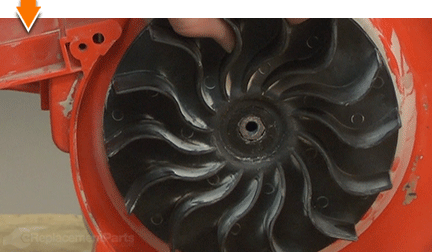
Remove the blower fan from the unit.
INSTALLING THE NEW FAN [top] 5. Install the fan.
Install the new fan onto the spindle.
Rotate the fan until the alignment tabs (on the spindle) engage the slots on the fan.
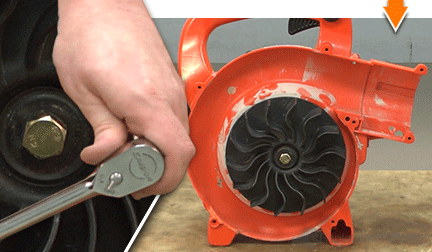
Install the washer onto the bolt.
Apply thread sealant to the threads of the bolt.
Thread the bolt (containing the washer) into the spindle.
Secure the bolt (and the new fan) to the engine assembly.
REASSEMBLING THE UNIT [top] 6. Unbind the engine.
Remove the starter rope from the cylinder.
Thread the spark plug into the cylinder.

Secure the spark plug (using a wrench or socket).
Reinstall the spark plug boot.

7. Reinstall the fan cover.
Install the blower pipe retaining lever into the engine housing.
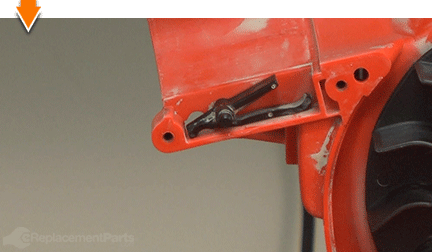
Install the fan cover and align the mounting holes.
Secure the fan cover to the blower with the (7) screws.
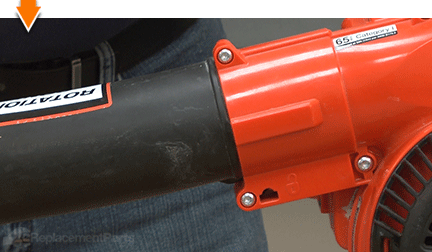
8. Reinstall the blower pipe.
Align the locking ribs on the blower pipe with the recesses in the fan case. Verify that the short locking rib faces downward.
Slide the blower pipe into the fan case until a "clicking" sound is heard.

You don't have to blow your savings to save your blower. As you just learned, repairing your own equipment is easy when you follow our step-by-step guides. Not only did you restore blower functionality at a fraction of the cost of replacement; you have blown away all doubt about your ability to fix whatever fails you.
