Tools & Materials
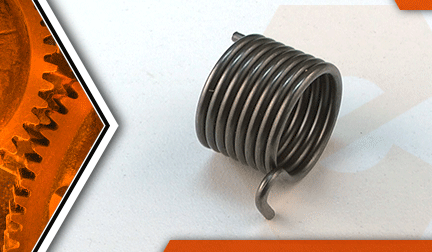

String trimmer out of whack? It's time to face the fix. Whether you are a legendary landscaper or a weekend weed whacker, eReplacementParts.com provides the parts, procedures and facts you need to fearlessly fix what fails you.
The damper spring is located in the starter assembly on the trimmer. It's part of a feature that makes the trimmer easier to start by pre-loading the recoil starter with tension. Occasionally, the damper spring can break. When this happens, you'll likely notice a significant increase in the amount of effort required to start your engine. Fortunately, replacing the damper spring is easy to do.
This article provides step-by-step instructions for removing and installing the damper spring on an Echo SRM-225 trimmer.
Let's get started.
 REMOVING THE DAMPER SPRING [top]
1. Remove the engine cover.
Remove the (2) retaining screws from the engine cover.
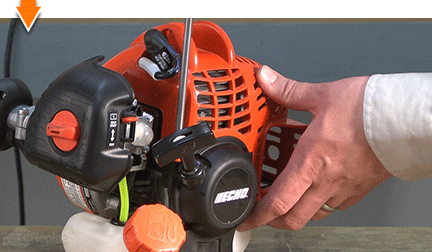
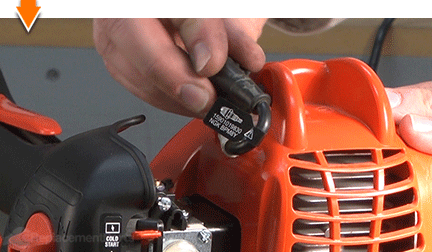
Disconnect the spark plug boot from the spark plug.
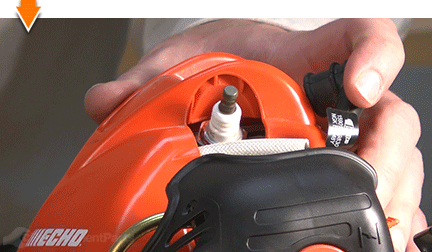
Lift and remove the engine cover from the engine.
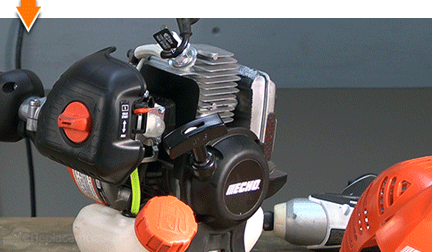
2. Remove the starter assembly from the engine.
Remove the (4) screws from the FACE of the starter assembly.
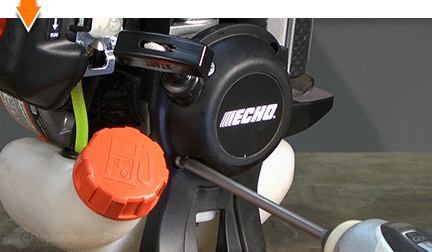
Remove the (1) screw from the SIDE of the starter assembly.
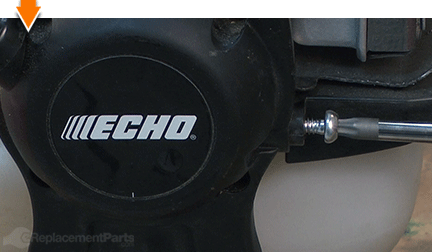
Remove the (1) screw from the BOTTOM of the starter assembly (this screw passes through the fuel tank).
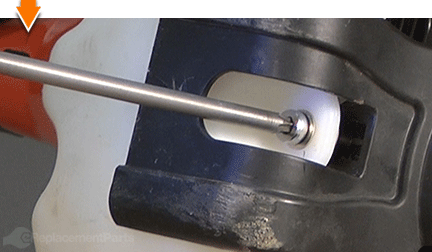
Remove the starter assembly from the engine.
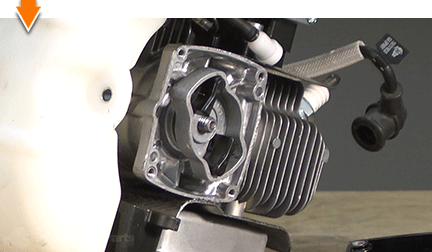
3. Remove the damper spring from the starter assembly.
Apply downward pressure to the outside edge of the rope pulley. This pulley is spring-loaded, so applying pressure will prevent the pulley (and spring) from "jumping" out of the assembly when the screw is removed.
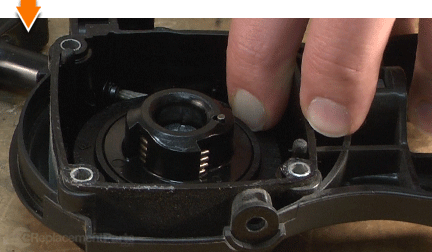
Remove the retaining screw from the center of the cam plate.
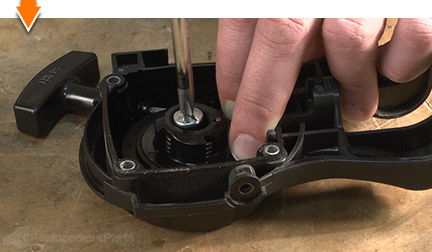
Remove the cam plate from the starter.
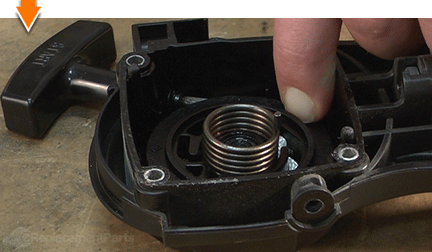
Remove the damper spring from the starter assembly.
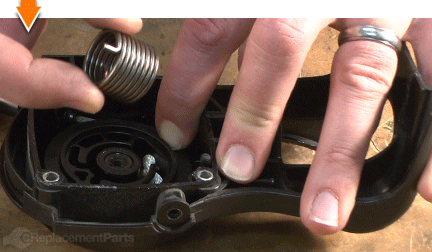
INSTALLING THE NEW DAMPER SPRING [top] 4. Install the damper spring.
Install the new damper spring into the starter assembly. The rounded end of the spring should engage the recess inside the starter assembly. The upright (straight) end of the spring should point toward the sky (or ceiling).
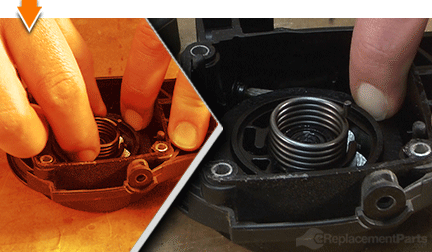
Reinstall the cam plate; align the hole in the cam plate with the upright portion of the spring.
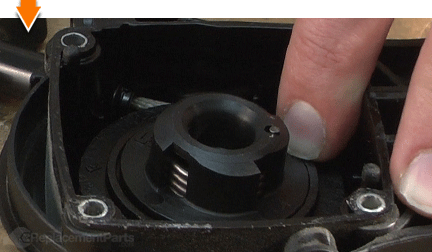
Secure the cam plate with the screw.
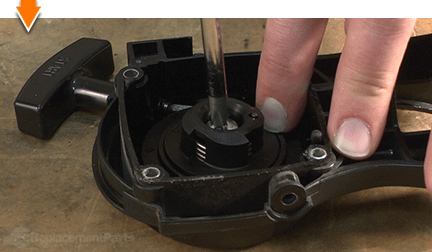
REASSEMBLING THE UNIT [top] 5. Reinstall the starter assembly.
Align the starter assembly with the mounting holes on the engine.
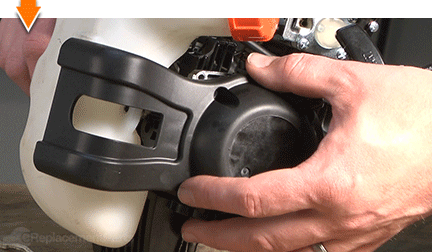
Hold the starter assembly in place while pulling gently on the starter rope. This will engage the starter pawls and ensure proper alignment.
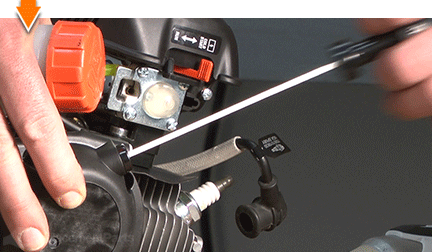
Secure the starter assembly to the engine with the (6) screws.
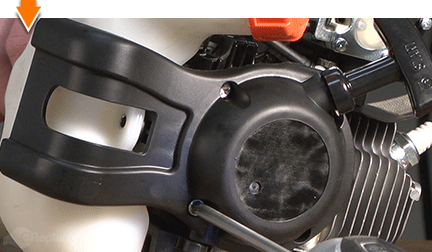
6. Reinstall the engine cover.
Install the engine cover, ensuring that the spark plug wire passes through the hole in the top.
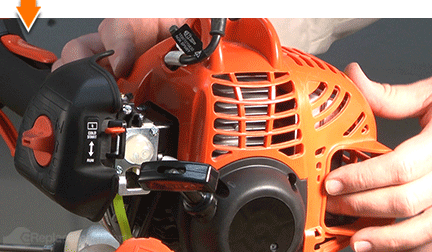
Secure the engine cover with the (2) screws.
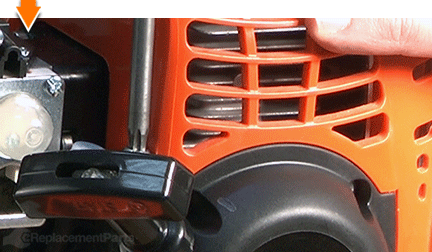
Reconnect the spark plug boot to the spark plug.

You don't have to leverage your savings to level your lawns. As you just learned, repairing your own equipment is easy when you follow our step-by-step guides. Not only did you restore trimmer functionality at a fraction of the cost of replacement; you have taken the edge off of future repairs, wherever you may find them.


