


Video
Tools & Materials
- Torx screwdriver
- Flat-head screwdriver
Safety Guidelines
 Remember to find the exact lock pin and spring for your Dremel tool by visiting our Dremel spare parts page.
Replacing the Lock Pin and Spring
Remember to find the exact lock pin and spring for your Dremel tool by visiting our Dremel spare parts page.
Replacing the Lock Pin and Spring
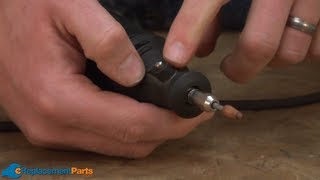
1. Remove the front cap
Unscrew the small cap at the front of your Dremel tool.
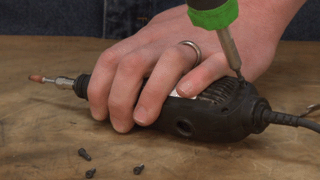
2. Remove the brushes
Use a flat-head screwdriver to remove the brushes from the side of your tool.

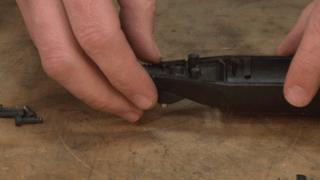
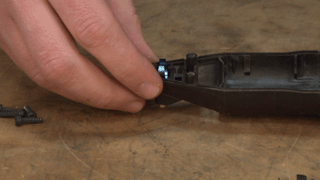
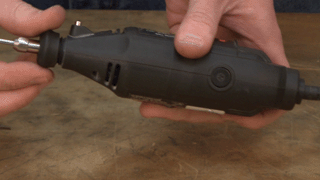
3. Separate the housings
Unscrew the four screws that secure the housings. Then separate the housings.
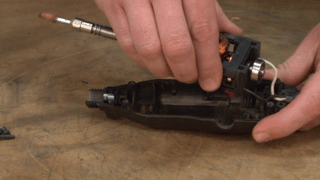
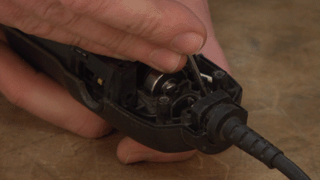
4. Remove the motor and switch assembly
Pull the motor and switch assembly out of the multi-tool to gain access to the lock pin and spring.
5. Install the new lock pin and spring
Now you can set the new lock pin in place in the lower housing.
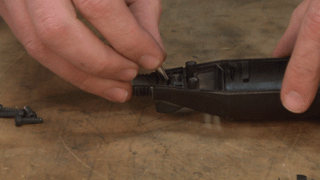
Then add the spring to the top of it.
6. Replace the motor and switch
Place the motor and switch assembly back into the housing.
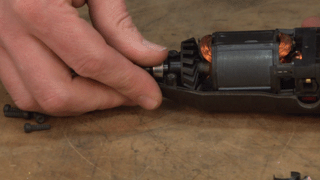
Make sure the bearings line up with the notches in the housing.
7. Route the wires
Tuck the wires into the housing to prevent them from getting pinched when you secure the two halves.
8. Combine the two housings
Set the two housings back together and secure them with the screws.
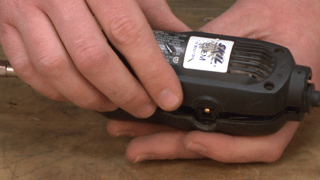
9. Re-install the brushes
Re-install the brushes on the side of the tool using your flat-head screwdriver.
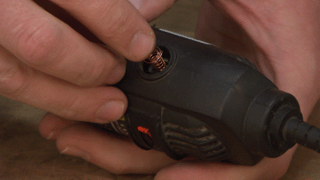
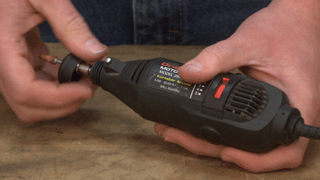
10. Re-install the front cap
And now you can screw the front cap back on to finalize the repair.
[Back to Top]
Conclusion
And that's how easy it is to replace the lock pin and spring on your Dremel tool. This simple repair can save you a lot of time and money compared to a repair shop, and will give you a good understanding of your multi-tool, too. Remember to visit our power tool parts page to find all the parts you need for all your power tool repairs!
[Back to Top]
What We're About
