Tools & Materials
- Phillips-head screwdriver
- Metal pick
- Carburetor cleaner
- Ultrasonic cleaner (optional)
- Carburetor repair kit
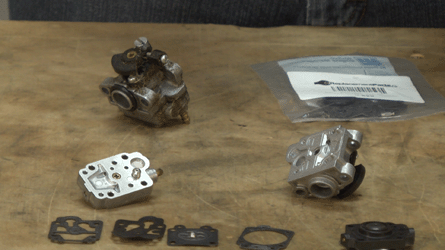
Shop for carburetor repair kits here!
Preparing the Carburetor for Repair
1. Remove the carburetor from the engine
If you're not sure how to do this, search for your model number in the Repair Center for specific instructions.
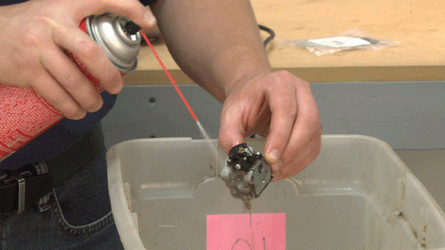
2. Clean the outside of the carburetor
Spray the outside of the carburetor with carburetor cleaner to keep it as clean as possible through the repair process.
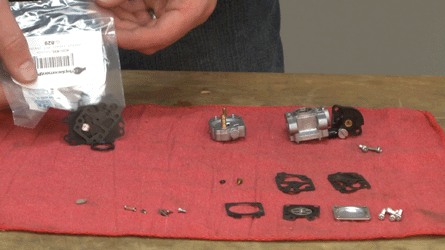
3. Lay out each piece of the carburetor as you disassemble it
This helps to remember the order of the parts for reassembly.
[Back to Top]
Disassembling the Carburetor
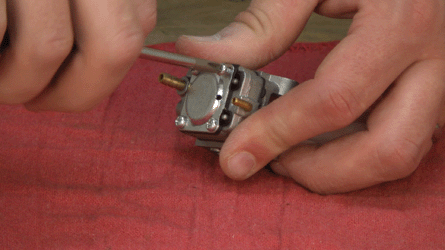
1. Remove the metering diaphragm cover
Use a screwdriver to remove the four screws on the diaphragm cover and set the cover neatly aside.
2. Remove the metering diaphragm and gasket
Peel off the diaphragm and the diaphragm gasket from the carburetor with your fingers.
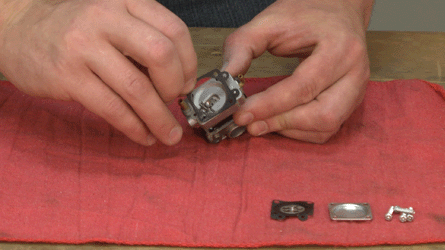
3. Remove the metering lever, needle and spring
Use a screwdriver to carefully remove the screw while holding your finger over the assembly to avoid it from flying away.

4. Remove the metering base
This will simply separate from the rest of the carburetor.
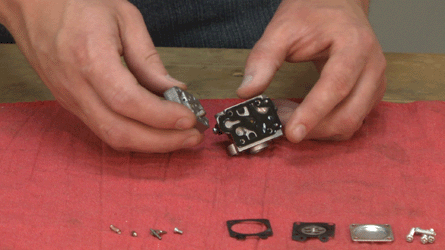
5. Pull out the inlet screen
Use a small pick to pull the inlet screen out of the metering base.

6. Remove the pump diaphragm and gasket
Use your fingers to peel both the pump diaphragm and pump diaphragm gasket off of the carburetor.

7. Pull out the jet and o-ring
Use the pick to pull out the jet and o-ring from the carburetor.
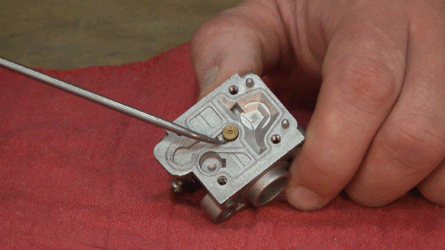
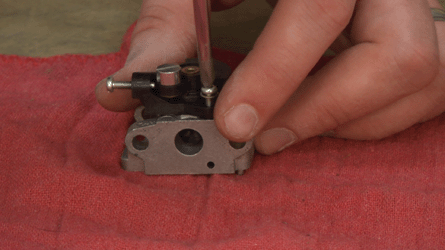
8. Remove the throttle body
First, back off the idle screw about half-way with a screwdriver -- this gives you access to the other screw under the throttle body.
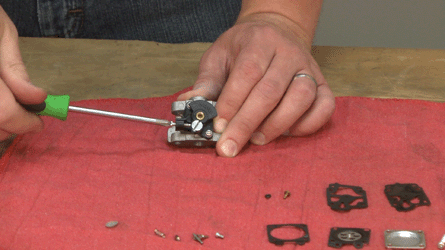
Then remove the screw under the throttle body and set them aside.
[Back to Top]
Cleaning the Carburetor

Using Carburetor Cleaner:
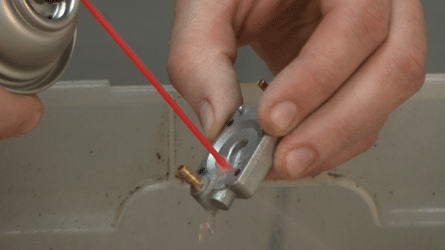
1. Spray all the openings and passages of the carburetor
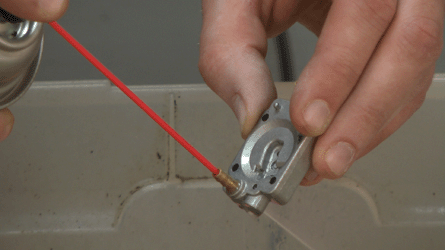
2. Spray the emulsion tube, main jet and bowl
3. Dry well

Using an Ultrasonic Cleaner:
1. Turn the ultrasonic cleaner on

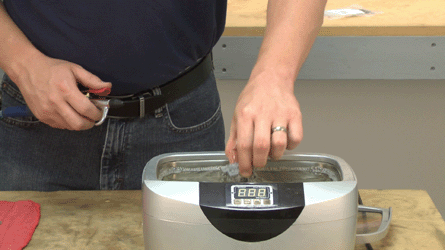
2. Drop the pieces you want to clean into the water
3. Set the amount of time
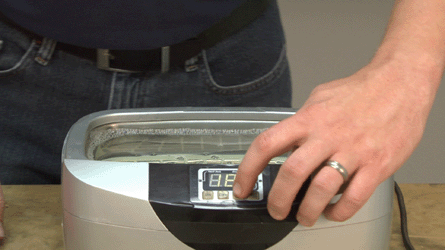
4. Run 2-3 cycles in this cleaner
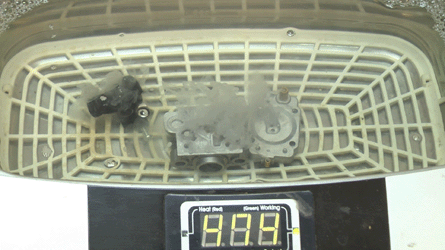
5. Use compressor air to dry the carburetor and parts

[Back to Top]
Reassembling the Carburetor
1. Connect the throttle body to the carburetor
First, slide the throttle body into the carburetor.

Then secure it with the two screws that were removed earlier.

2. Clean and install the jet and o-ring
Quickly spray some carburetor cleaner through the jet.
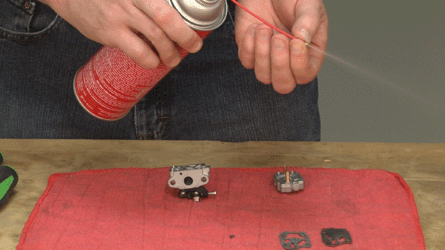
Then place the o-ring back onto the jet and press it back into the carburetor.
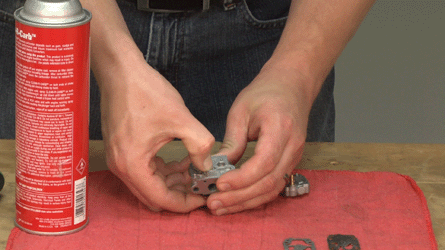
3. Install the pump diaphragm and gasket
Set the pump diaphragm gasket onto the carburetor.
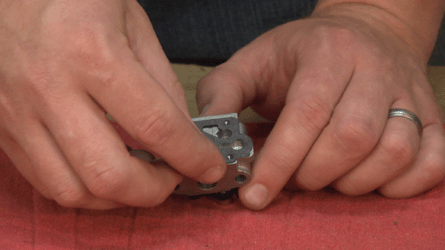
Then place the pump diaphragm over this gasket.
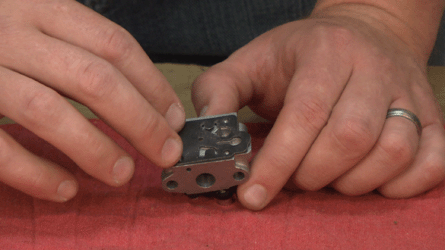
4. Install the inlet screen
Use an object like a Sharpie to press the inlet screen back into position.
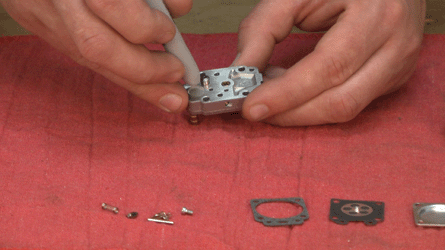
5. Put together the metering needle assembly
This contains the hinge pin, needle and spring. Place the hinge pin into the lever, place the needle onto the end of the lever and set the spring into the base.
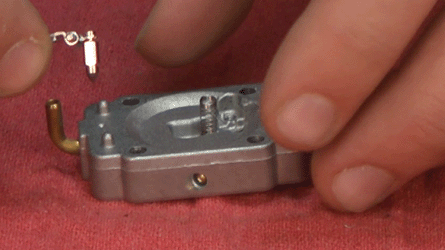
6. Install the metering needle assembly
With the metering needle assembled, drop the assembly into the carburetor and secure with the screw.
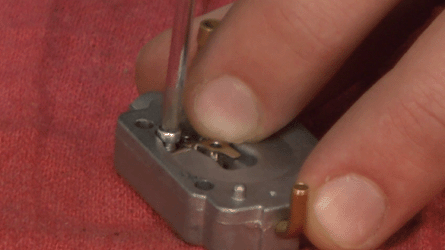
7. Install the metering base onto the pump diaphragm
Set the base onto the pump diaphragm.
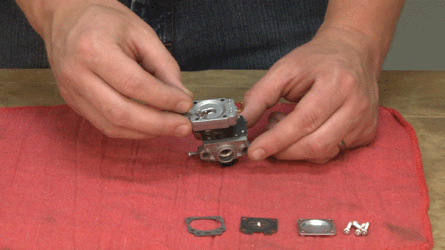
8. Install the metering diaphragm and gasket
Install the metering gasket onto the base followed by the metering diaphragm.

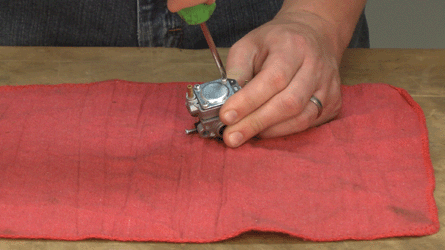
9. Install the metering diaphragm cover
Replace this cover over the diaphragm and secure it with the four screws.
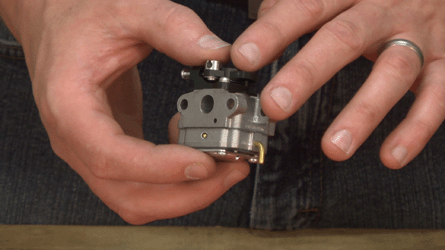
10. Reinstall the carburetor to your products engine
Not sure how to do this? Search our repair center for a guide!
[Back to Top]
Conclusion
It's just that easy to fix up your 2-cycle carburetor. Whether you're just trying to make your motor run more efficiently, or if you're trying to get your product to run again, this article should have everything you need. Not only will performing this repair keep your equipment running like new, it'll also give you skills that you can retain for the future. Saving money has never been so easy!
If you need parts for any of your motorized equipment, we've got that too!
[Back to Top]
What We're About


