Tools & Materials
- Socket Wrench
- Phillips-Head Screwdriver
- Flat-Head Screwdriver
- Pick
- Carburetor Cleaner
- Needle-Nose Pliers
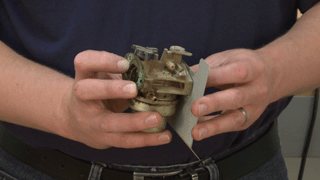
Find carburetor repair kits and any lawn mower parts or maintenance by visiting our lawn equipment parts page. Remove the Carburetor From the Mower
1. Remove the air box cover and filter
These can be pulled away from the air box.
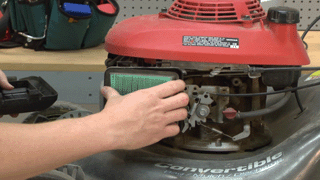
2. Remove the air filter base
Use a socket wrench to remove the air box base from the unit.
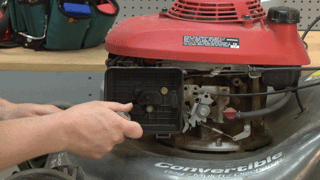
3. Remove the fuel line from the carburetor
You'll need to use some clamps to close the fuel line and remove it from the carburetor.
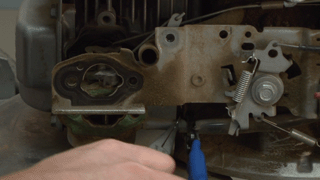
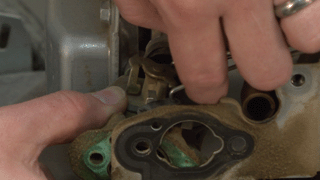
4. Remove the fuel linkage
A pair of needle-nose pliers will make this easy.
 [Back to Top]
Cleaning the Carburetor
1. Inspect the carburetor gaskets
If they're in rough shape, replace them.

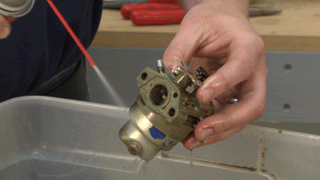
2. Clean the carburetor exterior
Use carburetor cleaner to clean the outside of the carburetor.
3. Remove the carburetor bowl
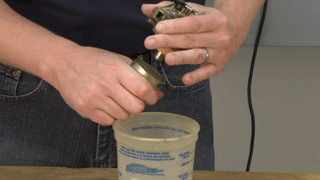
Use a wrench to remove the bolt on the carburetor bowl -- then pull the bowl away from the carburetor. Make sure to have a bucket to catch any gas still in the bowl.
4. Remove the float and metering needle
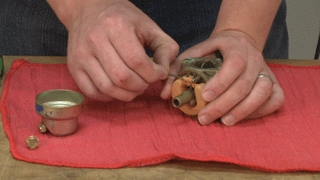
Pull the hinge pin out of the float, then set the float and metering needle assembly to the side.
5. Remove the main jet
Use a flat-head screwdriver to unscrew the jet from the carburetor.
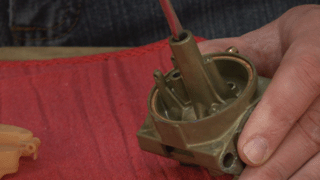
It may help to use a pick to 'pry' the jet (while unscrewing) from the access hole on the emulsion tube.
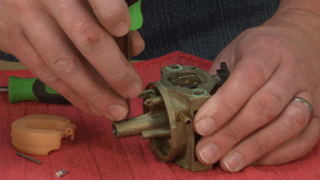
6. Remove the emulsion tube
Simply apply pressure to the emulsion tube from the inside of the carburetor body to remove it from the carburetor assembly.
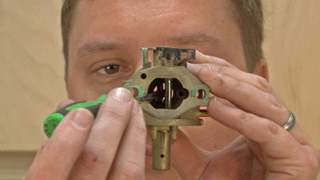
7. Remove the bowl gasket
Use a pick or screwdriver to remove this from the carburetor body.
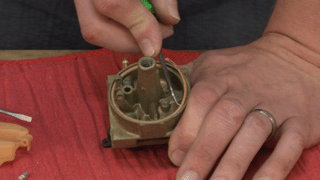
First, you'll need to remove the idle screw from the carburetor body -- making sure to count the exposed threads on idle screw to know what depth is necessary for re-installation.
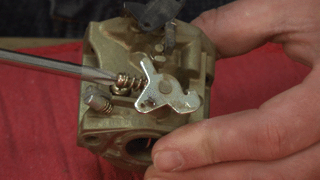
Then remove the pilot jet screw.
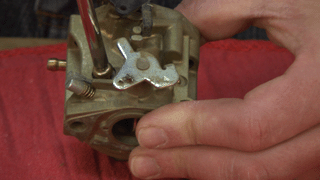
9. Thoroughly clean the carburetor
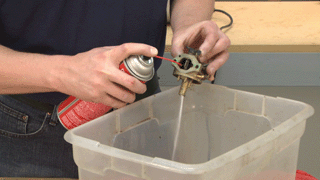
With the carburetor completely disassembled, you're ready to deep-clean. Use one of the following methods to clean both the carburetor and its components:
a) Use carburetor cleaner to clean every nook and cranny of your carburetor.
OR
b) Use a ultrasonic cleaner. This breaks up dirt very quickly and efficiently. Simply place the carburetor in the cleaner and let it work.

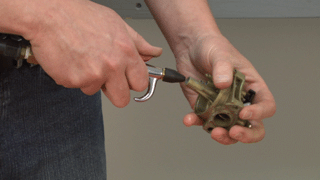
10. Dry the carburetor
Use an air compressor or a clean towel to dry the carburetor and its components.
[Back to Top]
Reassembling the Carburetor
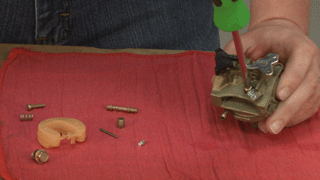
1. Replace the pilot jet screw
Use a phillips-head screwdriver to re-secure the pilot jet screw.
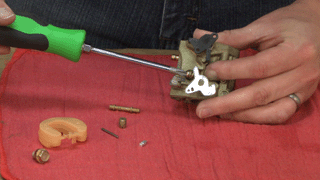
2. Replace the idle screw
Use a screw driver to fasten this in its original location. Remember to only thread it back to the noted position from step 8.
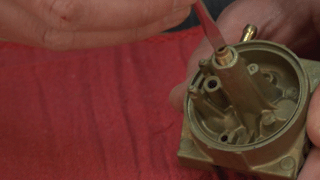
3. Reinsert the emulsion tube and main jet
The jet will screw in the same way it was removed.
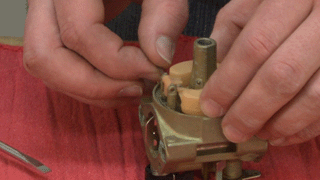
4. Reinstall the float and metering level
Place the metering level back onto the float -- then re-secure the float assembly to the carburetor with the hinge pin.
5. Install the new bowl gasket and bowl-screw gasket
We recommend replacing these whenever you perform maintenance on your carburetor.
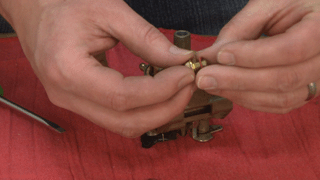
6. Replace the carburetor bowl
Set it back onto the carburetor and secure with the bolt that was removed earlier.
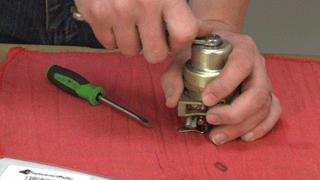
7. Clean the gasket surface
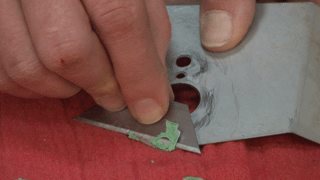
Use a razor blade to scrape any leftover gasket from the brackets.
[Back to Top]
Reinstall the Carburetor
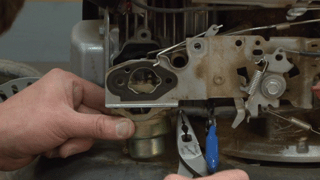
1. Replace the fuel line
Use a pair of needle-nose pliers to work the fuel line back onto the carburetor.
2. Reinstall the fuel-linkages
Simply hook these back onto your carburetor. Pliers may be helpful.

3. Install the new gaskets and air filter base
Slide the new gaskets into their proper locations -- then slide the air filter base onto the mounting bolts.
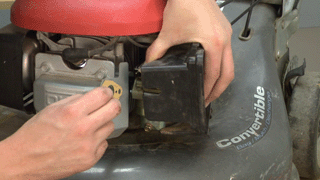
4. Secure the air filter base
Replace the bolts that were removed earlier with a socket.

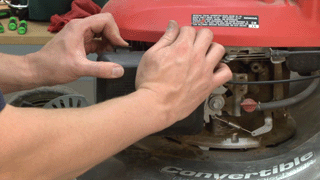
5. Replace the filter and cover
The filter rests inside of the air box and the cover snaps in place.
[Back to Top]
Conclusion
And that's how easy it is to maintain a carburetor in your lawn mower. This process should be completed at least once per year to ensure proper operation of the fuel system of your lawn mower.
If you're looking for parts for the Honda HRX217 mower used in this video, they can be found here.
[Back to Top]
What We're About


