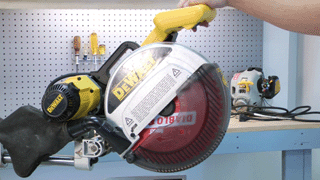
Find more parts for your DeWalt miter saw here.
Removing the guard
1. Remove the blade
Use a socket wrench to loosen and remove the nut holding the blade to the saw.
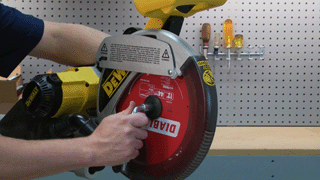
2. Remove the guard linkage screw
Remove the linkage screw that's located on the backside of the saw.
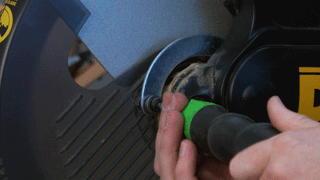
3. Remove the inner-blade flange
The inner-blade flange will simply slide right off of the saw.
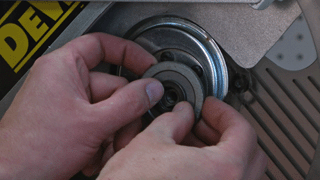
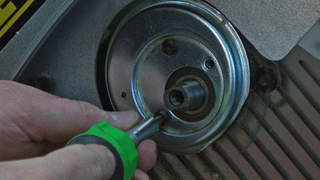
4. Remove the guard spring
With the inner-flange removed you'll now have access to the guard spring -- remove the three screws securing this to the saw and set it aside.
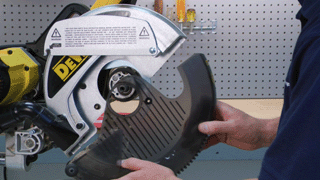
5. Pull the guard away from the saw
Pull the guard off of the center hub and remove it from the saw.
[Back to Top]
Installing the new guard
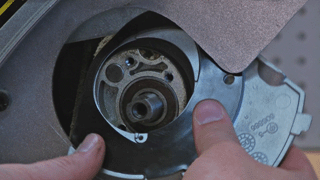
1. Install the new guard plate and wear ring
Place the wear ring on the guard plate and position them on the center hub of the saw.
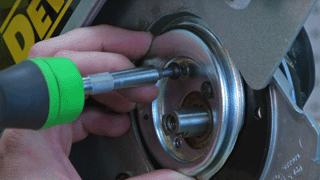
2. Reinstall the guard spring
Place the guard spring over the guard plate that you just installed -- then fasten it to the saw with the three screws that were removed earlier.
3. Replace the guard linkage screw
The new guard set will include a new self-tapping metal screw for use with installation. Simply use a screw driver to fasten the new screw through the linkage and into the casting on backside of the saw.
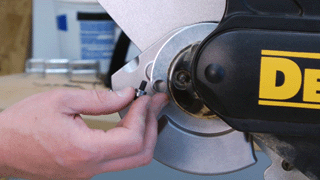
4. Install the rubber bumpers on the new guard
You'll need to re-use the rubber bumpers attached to the old guard on your new guard.
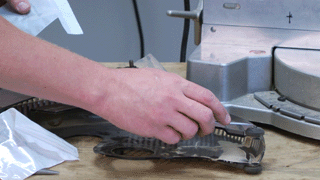
These are held in place by retaining rings that are extremely difficult to remove without breaking. We recommend purchasing some new ones to prevent any extra headaches.
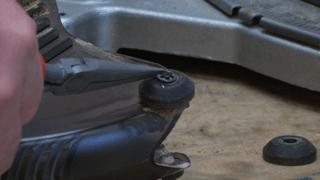
Place the bumpers on the new guard and secure them by pressing down on the new retaining ring with a socket.
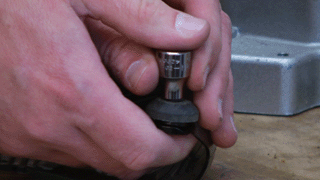
5. Place the new guard onto thew new guard plate
Secure the guard onto the new guard plate with the two self-tapping screws included with the new guard kit.
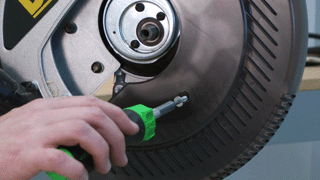
6. Reinstall the flanges and the blade
Place the flange onto the guard plate.
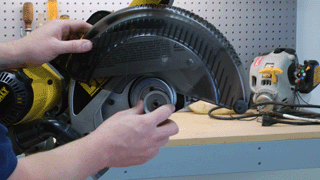
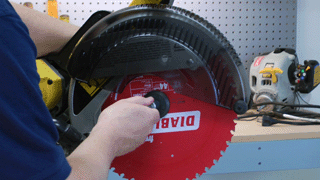
Then place the blade over the flange and secure it with the blade washer and nut.
[Back to Top]
Conclusion
And that's how easy it is to replace the lower guard on your DeWalt miter saw. This repair can be performed by anyone with basic knowledge of tools in less than an hour, saving you valuable time and money compared to a repair shop.
Our parts finder page will help you find the parts for any power tools you may need to service.
[Back to Top]
What We're About


